instructions below*
If you read “Pt. 1: The Starter,” you’re probably a bit impatient by now, so I’ll cut to the chase. Now that you have a starter, you can finally get that bread! Obtaining the grain! Gain the gluten! (Unfortunately, this particular recipe is not gluten-free. However, there are plenty of fantastic gluten-free alternative flours, yeasts, and specific baking methods if you are looking for sourdough.)
A disclaimer: one loaf of sourdough can take a really long time. Bread is a process, but it’s worth it. Art takes work!
*I can’t provide an exact recipe because I often end up improvising! But my process is largely based on Tara Jensen’s sourdough in A Baker’s Year (St. Martin’s Griffin, 2018). Other recipes, like this one by King Arthur Flour or this one by Emma Christensen on theKitchn.com are also great jumping-off points!
An overview of my own baking process:
- Thursday night: take starter out of the refrigerator and feed
- Friday night: make leaven (leave out overnight)
- Saturday morning: five hours from dough mixing to shaping in bread basket
- Any time from Sun-Wed: about 90 min prep/baking time, 2 hours waiting until ready to eat!
How to prep the starter (2-3 days before baking day)
- Feed like normal that evening, 50/50 ratio water to flour
- If you need to increase the amount of starter, feed it more the next morning (Fri)
How to make the leaven:
What is leaven? In many standard sourdough recipes, you don’t actually use the starter itself for baking. You need something a little more active; in this case, the leaven is left overnight to ferment.
- Make the leaven. Depending on your recipe, the ingredients ratio is probably somewhere around 100% bread flour, 100% water, and maybe 20-30% starter. (Bread ratios are measured relative to the percentage of bread flour. If you use 100g bread flour, you’d also use 100g water and maybe 25g starter).
- Let the leaven rise overnight.
How to make the bread:
*the next day*
- Start by measuring out the leaven, and then adding the water to the leaven.
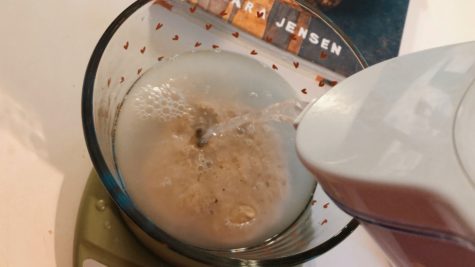
- Add flour to the mixture and add salt on top.
- Let rest (autolyse), so the gluten proteins can tighten! This is so the dough becomes elastic and stretchy.
- After the autolyse period, incorporate the salt into the dough with your fingers. After that, fold the dough in the bowl and cover for an hour. Fold for a total of 3-4 times, over 3-4 hours. (This will depend on the recipe.)
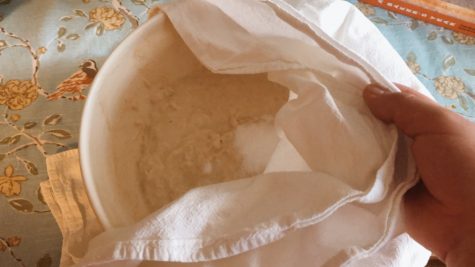
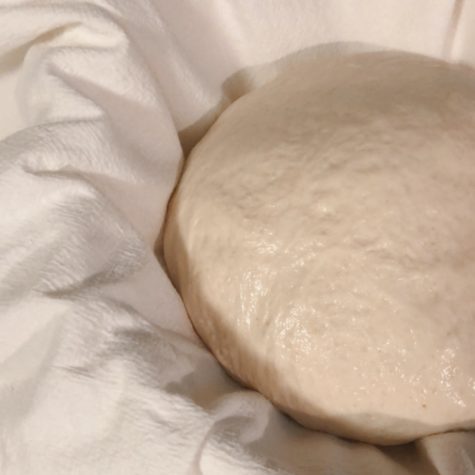
- After folding, you can dump the dough out onto the surface, form into a ball, and drop into a floured towel in a bread bowl. Cover loosely and let sit overnight in the refrigerator—this allows the flavors to develop!
- The next morning, stick a Dutch oven into the oven at 450 degrees F for twenty minutes.
- While you wait, overturn the dough onto a sheet of parchment paper and score (cut a really deep line into the dough) with a knife.
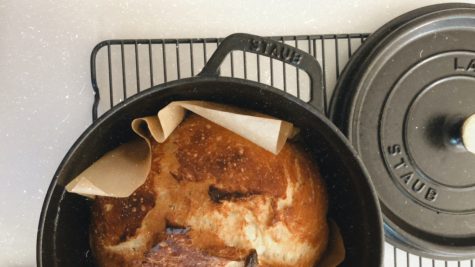
- Working quickly, once the oven has preheated, take the Dutch oven out and gently lower the bread into it.
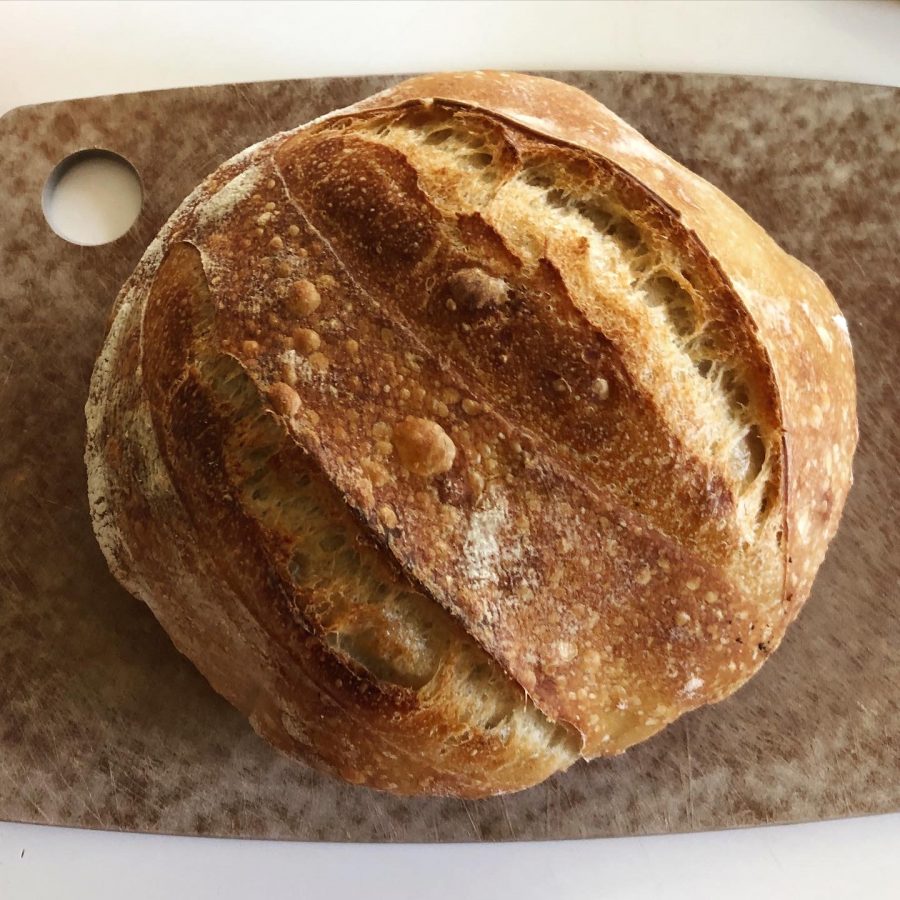
- Bake for 20 minutes with the lid on at a high temperature (above 400 degrees, at least), and then take the lid off and lower the temperature (somewhere between 375 and 400 degrees F). You’ll know that the bread is done if it looks hard, shiny, and has a deep caramel-colored crust. You also will hear it “singing” as the loaf meets the much colder kitchen air.
- Wait anywhere between 30 min to two hours for the loaf to cool, and it’s ready to slice and eat! (Technically, you’re supposed to wait two hours but somehow my loaves often never make it quite that far…)
This “recipe” is intentionally vague because the intricacies of everyone’s bread process are going to vary depending on your ingredients, the temperature and humidity, oven type, baking method, etc. But thanks for coming along for the ride!